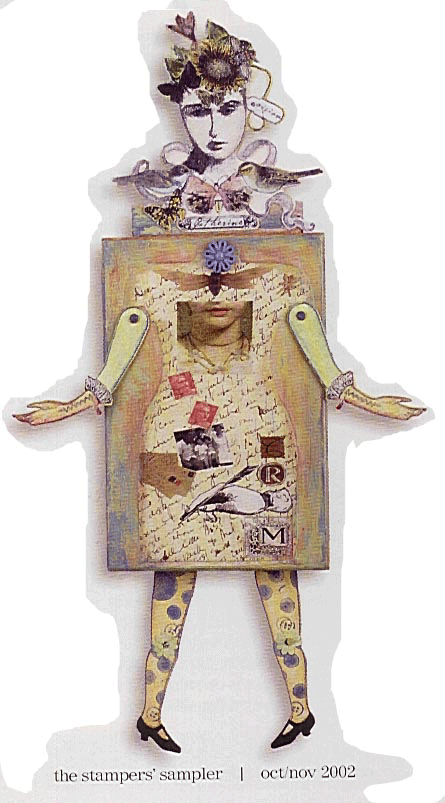
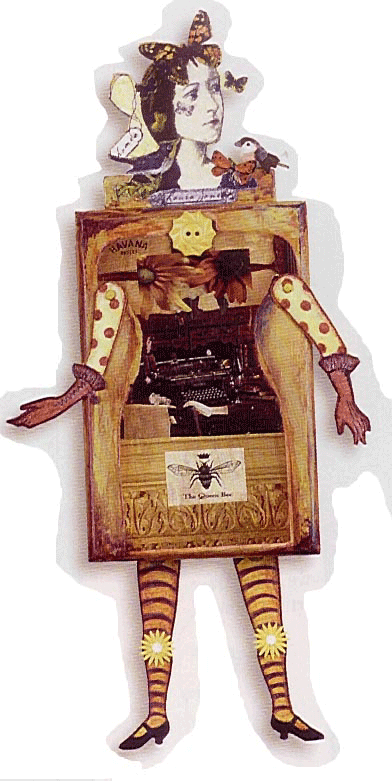
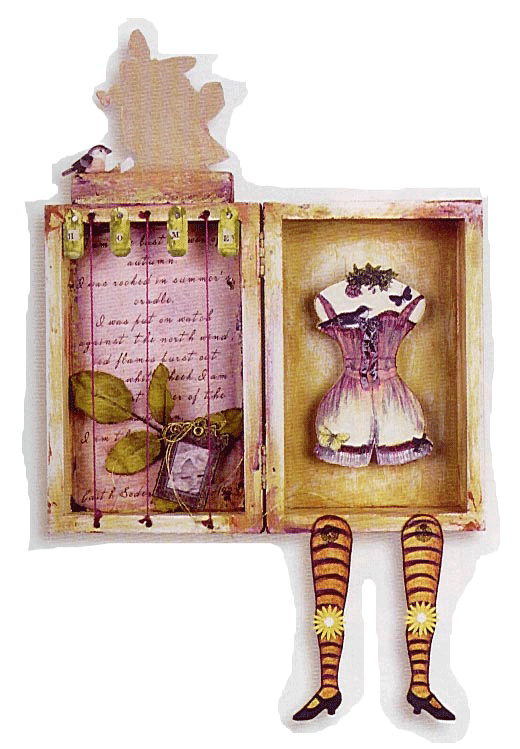
Apply acrylic paint to all surfaces of box, inside and out, using two to three colors. Paint the wood head support. Do not paint areas where head support is to be attached to box or bottom of support.
Attach wood head support to top of box with wood glue.
Attach dress to box front using Golden's soft gel matte. Coat dress with matte medium or white glue to protect surface.
Using Memories black permanent ink, stamp doll parts onto a light colored, smooth cardstock. You can use the accessorize stamp to vary arm positions and add boots. Use Character Constructions Lace stamp to add stockings to legs.
Cut out doll parts with Fiskar's Soft Touch scissors.
Color doll parts in a multitude of ways, including colored pencils, markers, pastels or chalks. Rub pastel over surface of areas colored with pencil & marker to add contouring and to soften color. In a well-ventilated area, spray with Krylon workable Fixatif to finish.
Use the soft gel medium or white glue to attach face image to the wood strip mounted to the top of the box lid.
Attach arms to the fronts of boxes with paper eyelets. Place small items in doll's hands, such as paper hearts and flowers you can create with paper punches.
Attach legs to the lower, inside edge of box with small nails. Position legs with toes turned out or turned in. Try one boot on and one off for added interest.
Embellish your dolls with buttons to add dimension.
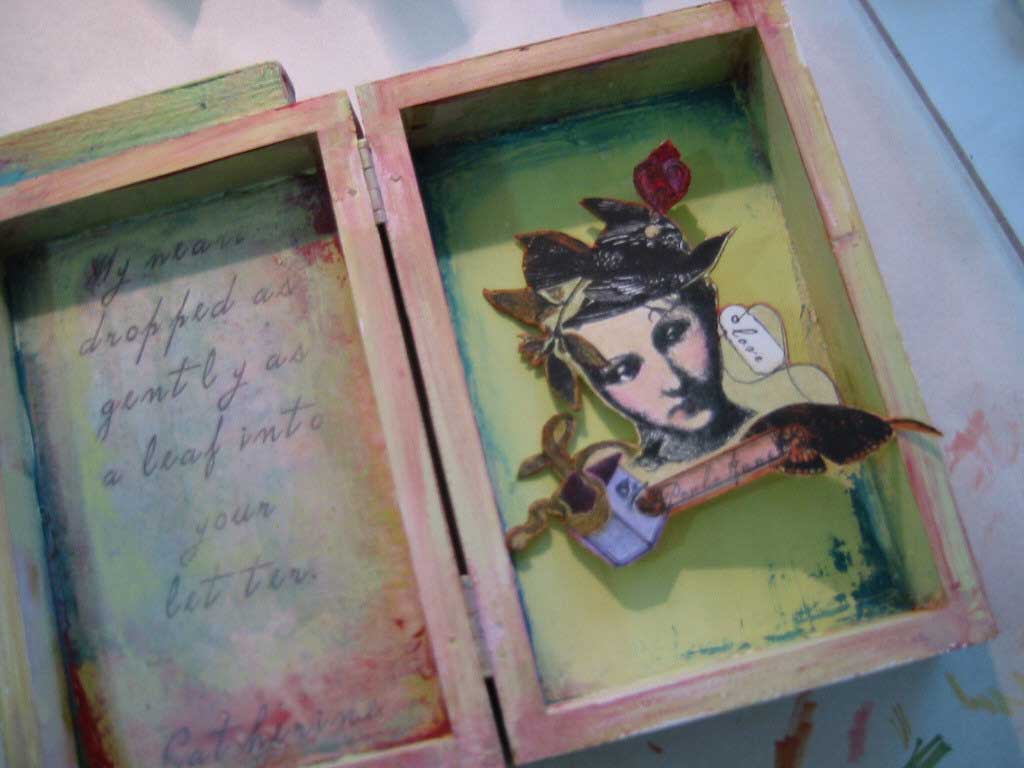
Collage a quote or poem inside the box lid. Cover with screen or embroidery floss.
Attach torsos to the inside of the box using wood "dots" to give them more dimension.
To further embellish, place small faux birds on shoulders of dolls (real birds won't stand for this).
Girls love jewelry, so don't forget to add a few charms, rhinestones, pearls or bead embellishments.
Tuck buttons into their bustiers.
Wall Art. Attach picture hanging hardware to back of box and hang it!